
Upgrading from Unite 23.1 to Unite 24.1
12/04/2024Upgrading from Unite 23.1 to Unite 24.1
About Unite 24.1 - This version of Unite is the workflow software that brings you fully up to date with the latest technology in our workflow software. It brings you cloud storage, a cloud-based app and web portal, and the ability to work from anywhere.
Important: the most important thing before upgrading is to make sure that a User with a 3Shape Account Administrator role performs the upgrade as they will invite other Account users to join the Company.
Preparation checklist
Have you:
- Set aside 1.5 hours?
- Decided on who is the Administrator of all Accounts?
- Checked if you need client server or standalone installation?
- Checked that you have stable internet and meet minimum system requirements?
- Made sure that you perform this during Customer Support hours?
Update steps
1. Once 3Shape Unite 24.1 is available for your system, we will automatically start downloading the update files in the background. Once the download has finished, click on a pop-up message in the lower-left corner of your screen, informing that a new update is available: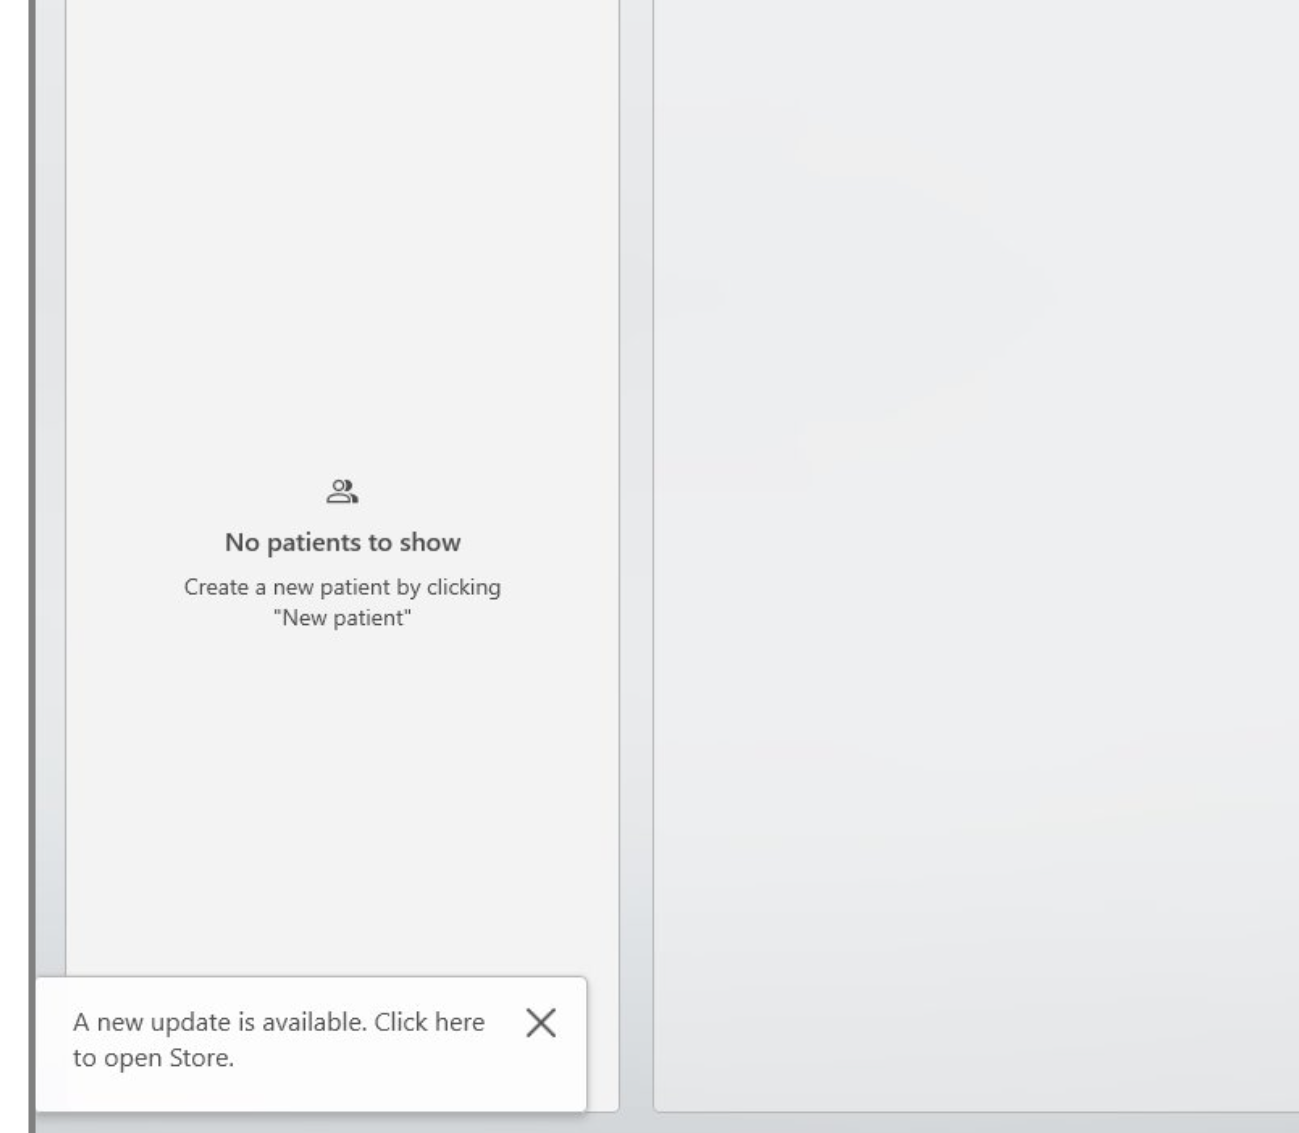
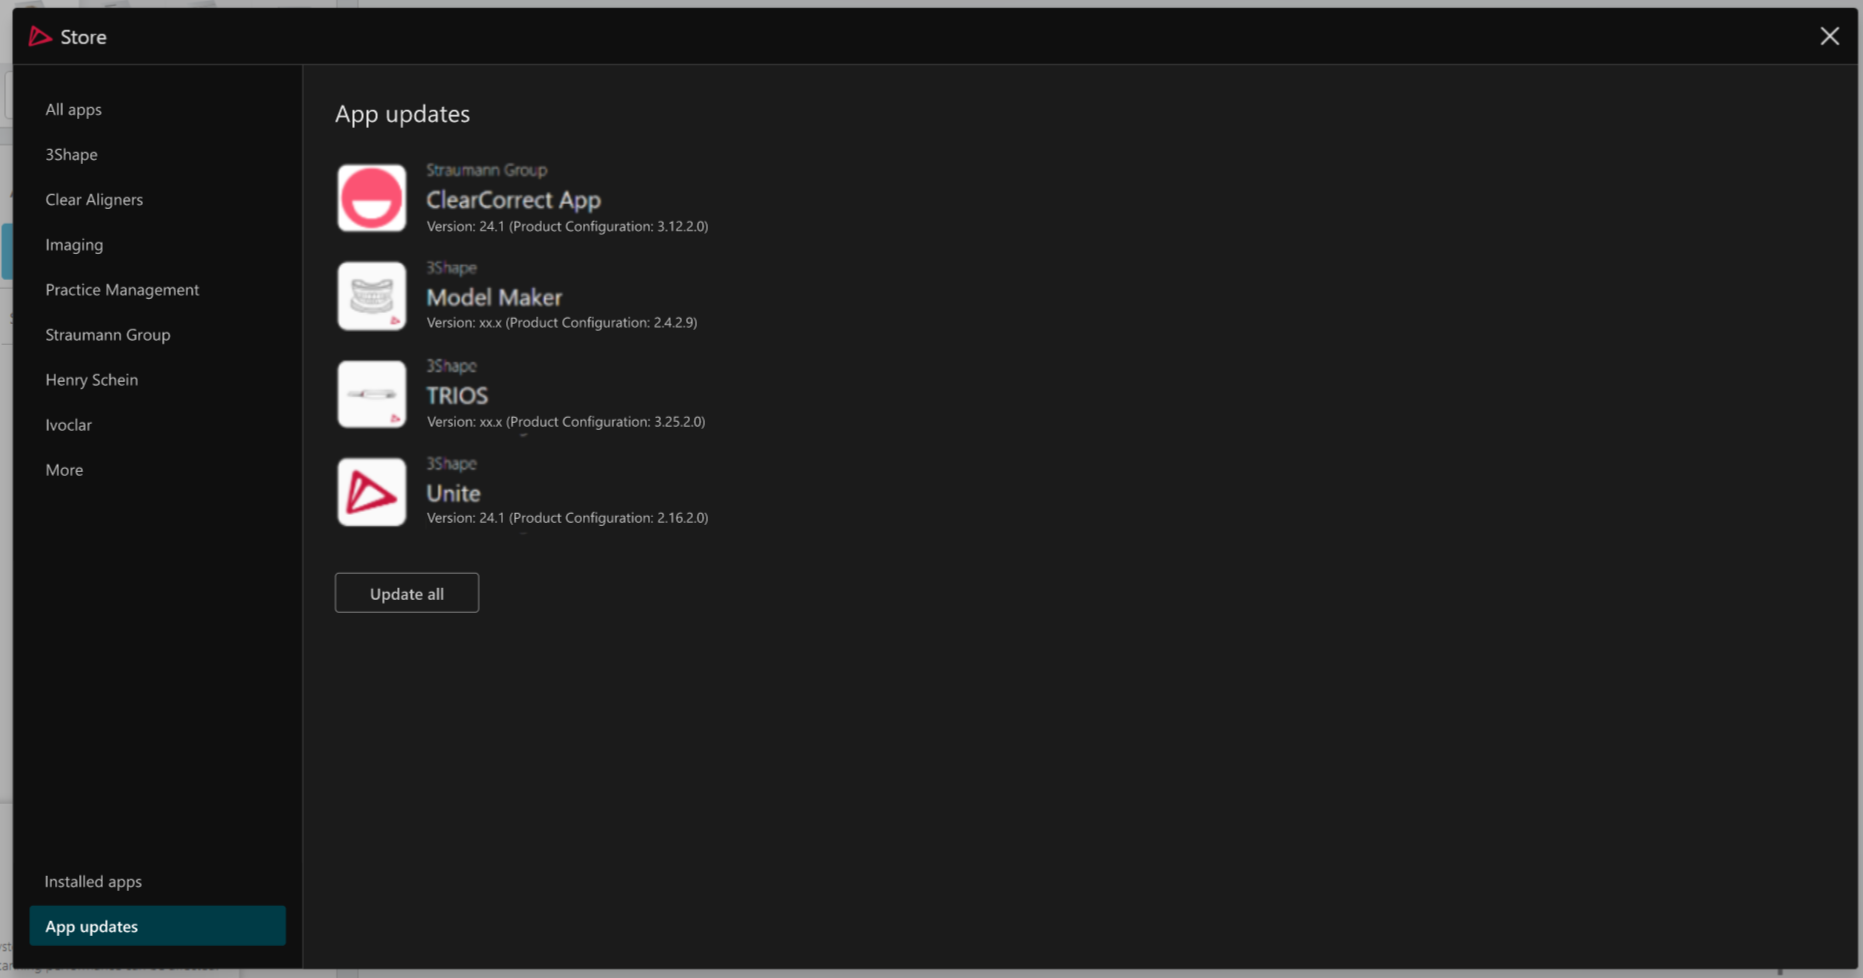
2. You will be redirected to the Unite Store, where you will see that the files for updating your 3Shape Unite and other apps have been downloaded. You can proceed with clicking “Update all”.
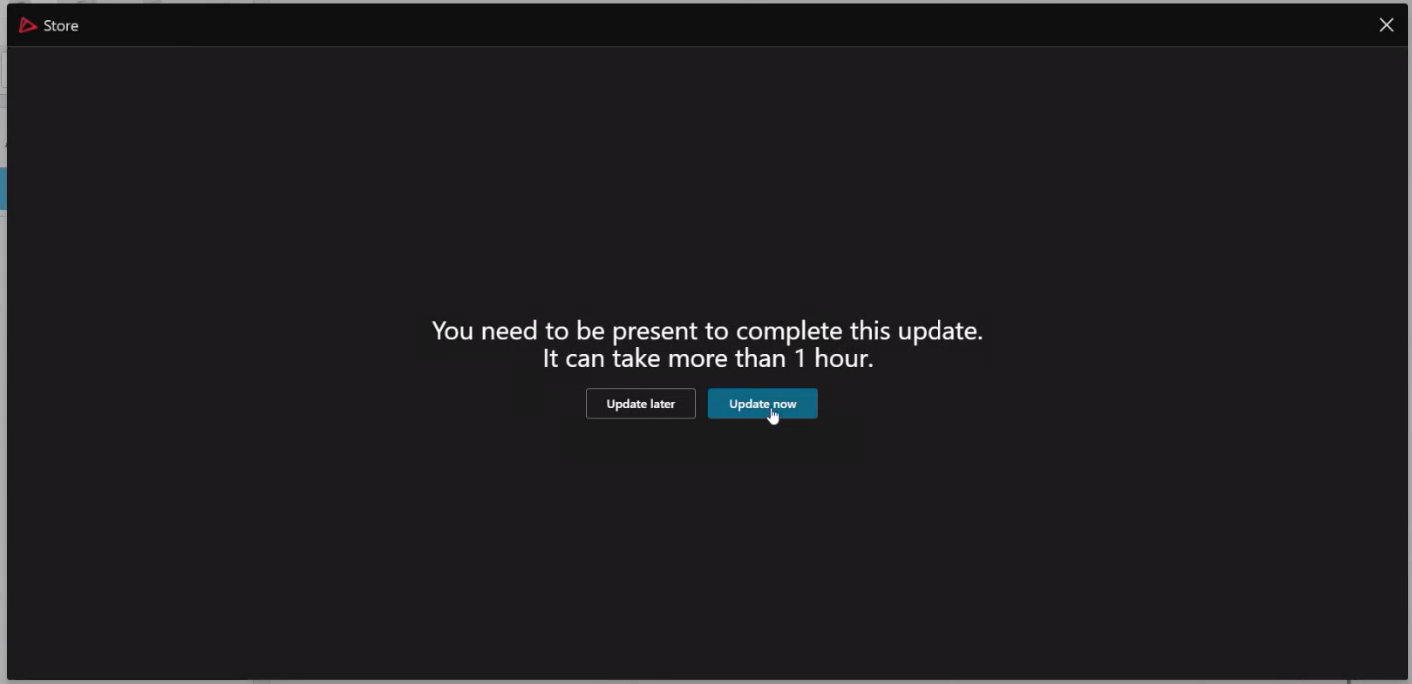
3. A pre-update warning that indicates the estimated time this process will take (more than 1 hour) and that user interaction is required throughout the update. Press "Update now” if you are ready to proceed or choose to update later if the time is not convenient or if you have patients scheduled shortly. shortly.
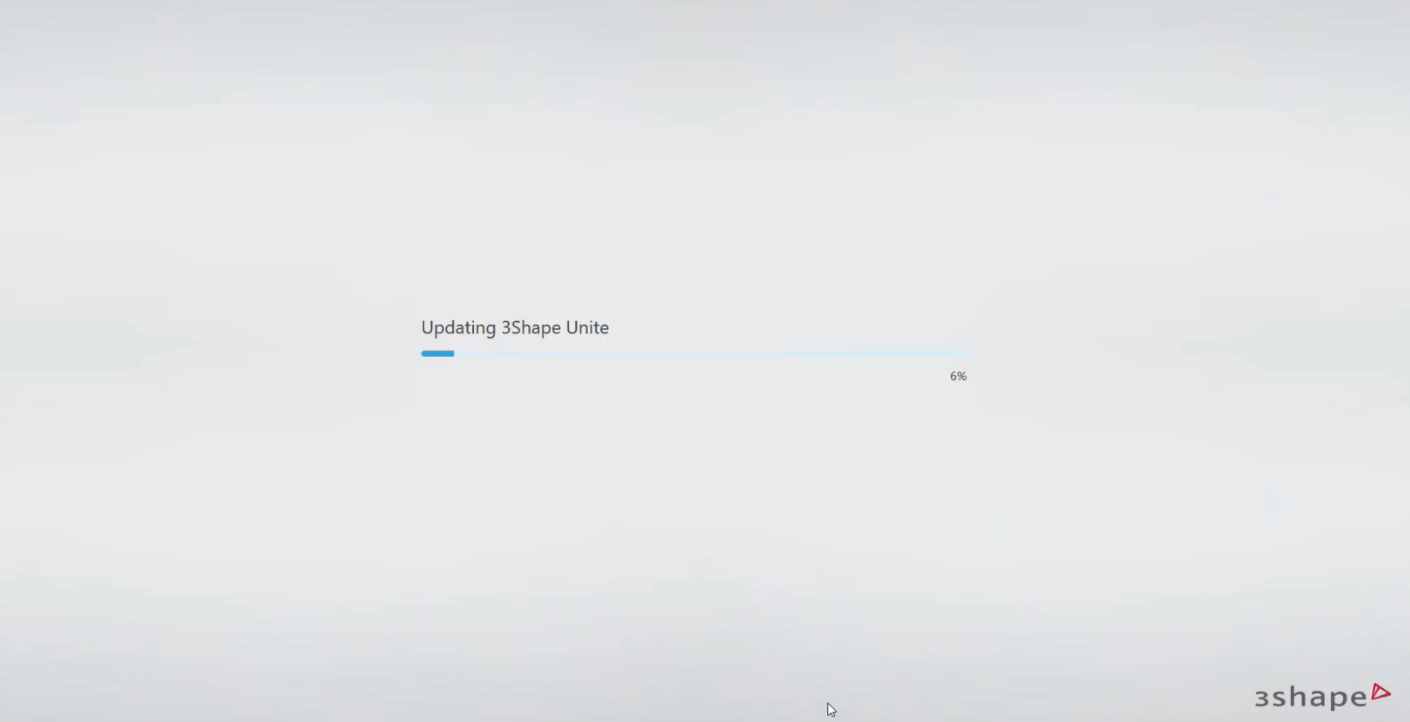
4. The update process will start, you will see a progress bar where you can check the progress.
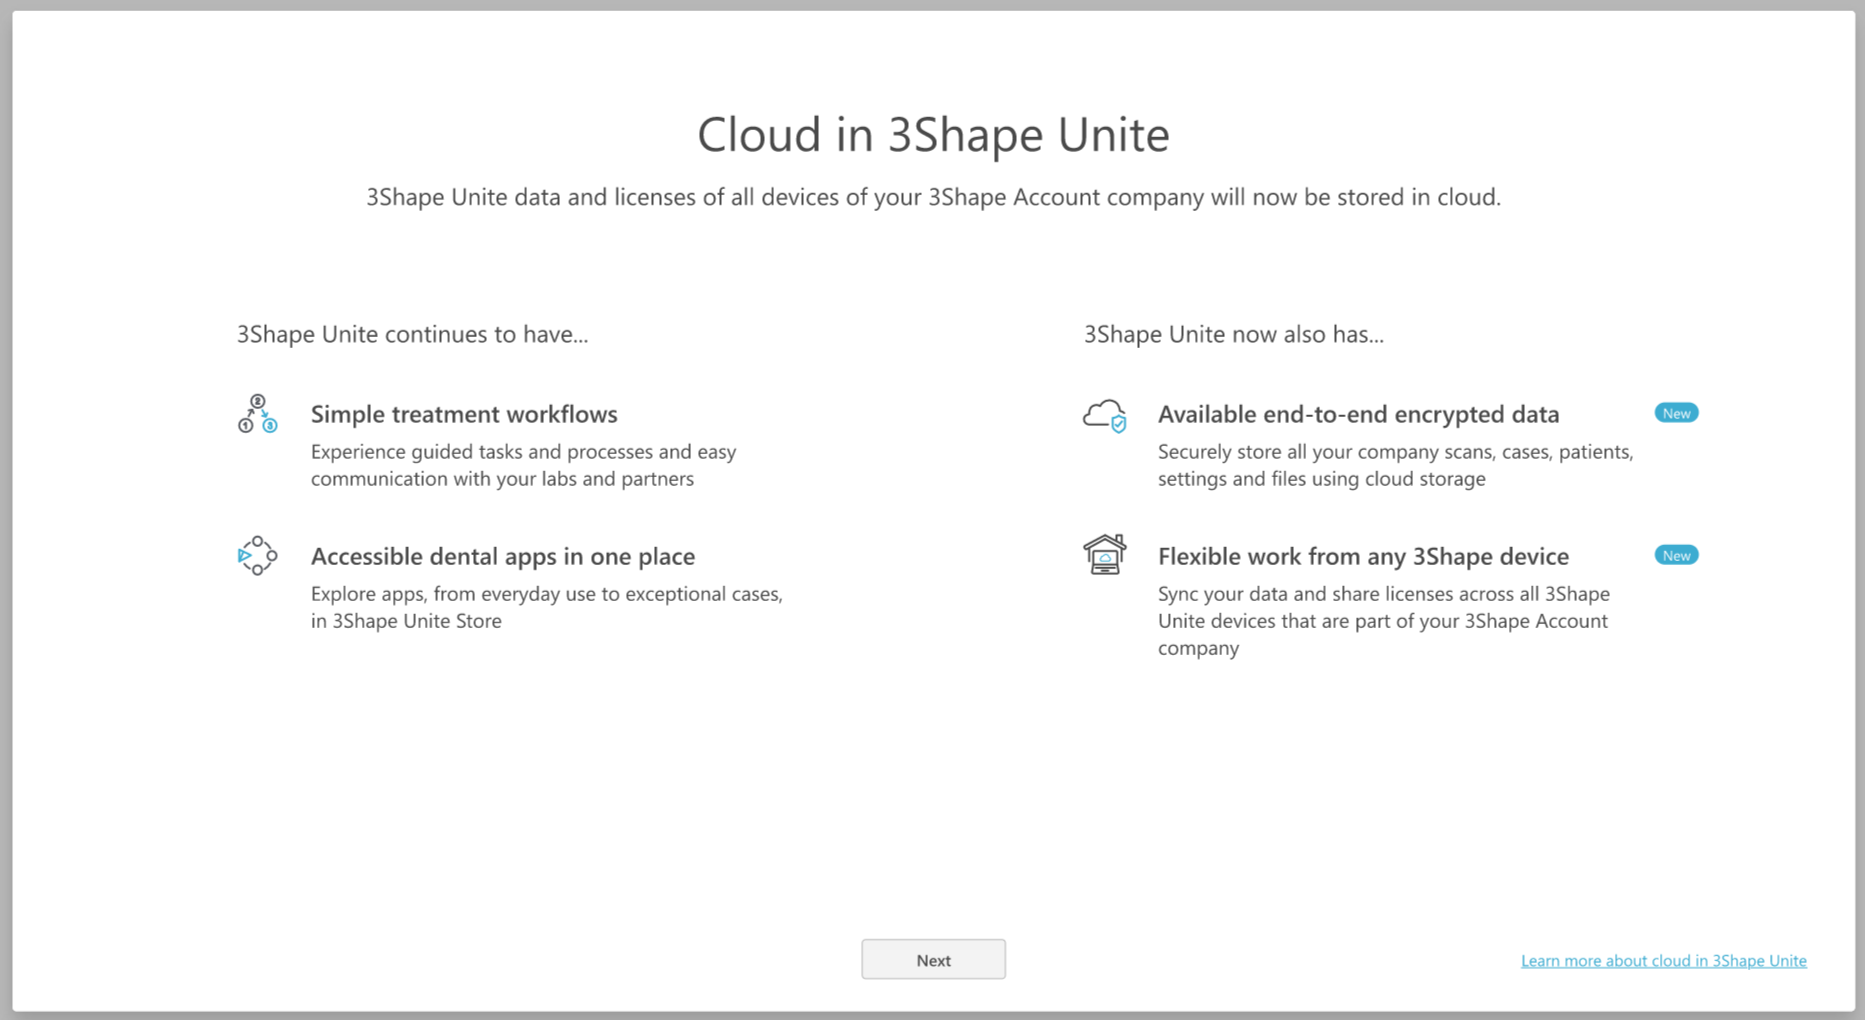
5. After the update process has finished, 3Shape Unite 24.1 will open automatically and show an information screen about the new cloud features in addition to the existing functionality of 3Shape Unite. It will be shown only once per device after the update. Press “Next” to continue.
6. Once the update process is completed, the administrator of your 3Shape Account Company needs to log in.

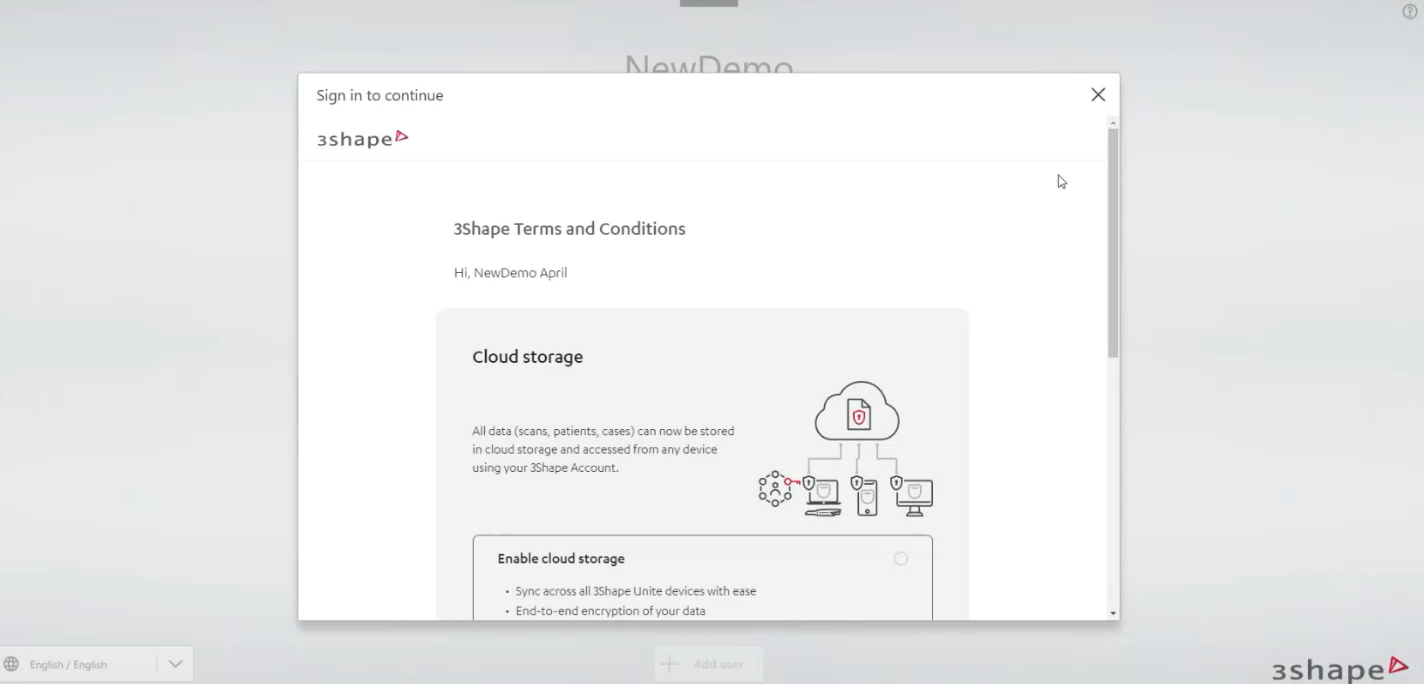
7. After logging in, the Administrator will have to choose the storage type (cloud or local) on behalf of the whole company. The software will show as pre-selected the option to “Enable cloud storage” but if you would like to refrain from using it, you can select the option "Disable cloud storage" and store your data locally.
After choosing the storage type, the Administrator will have to accept several more agreements and terms & conditions.
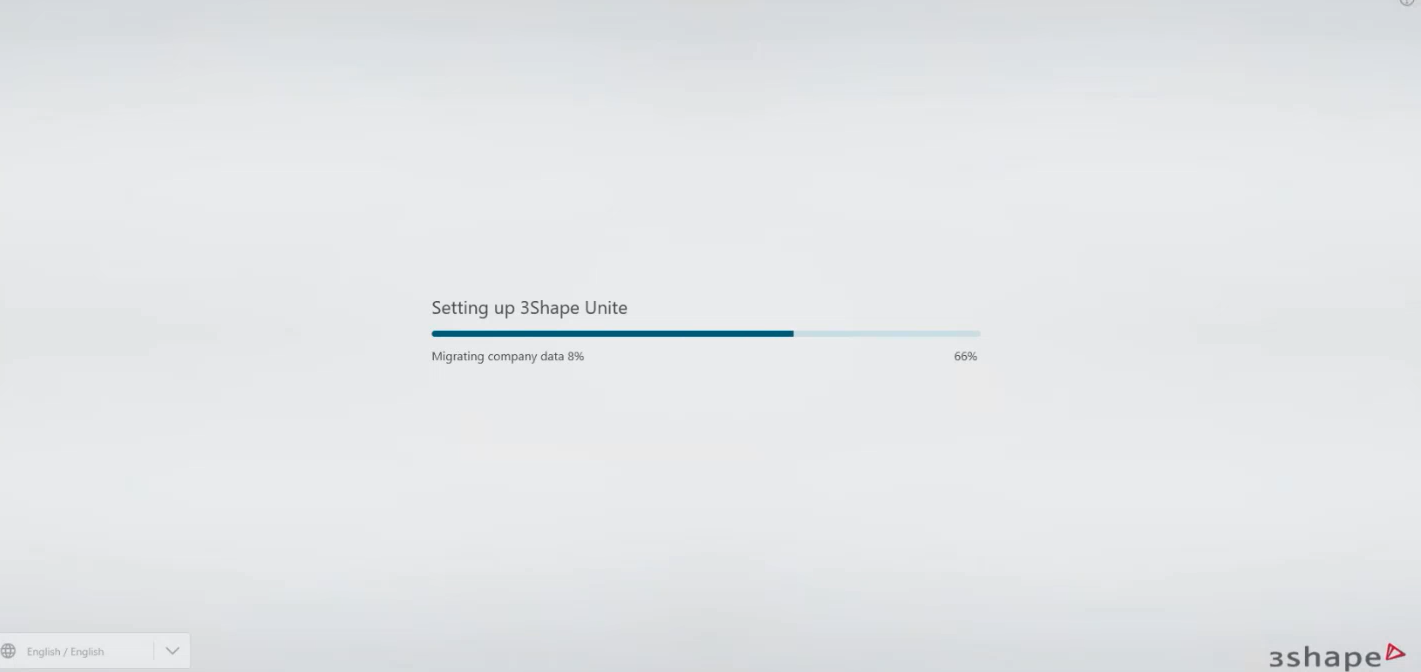
8. Once you have signed the required agreements, 3Shape Unite will finalize setting up after the update.
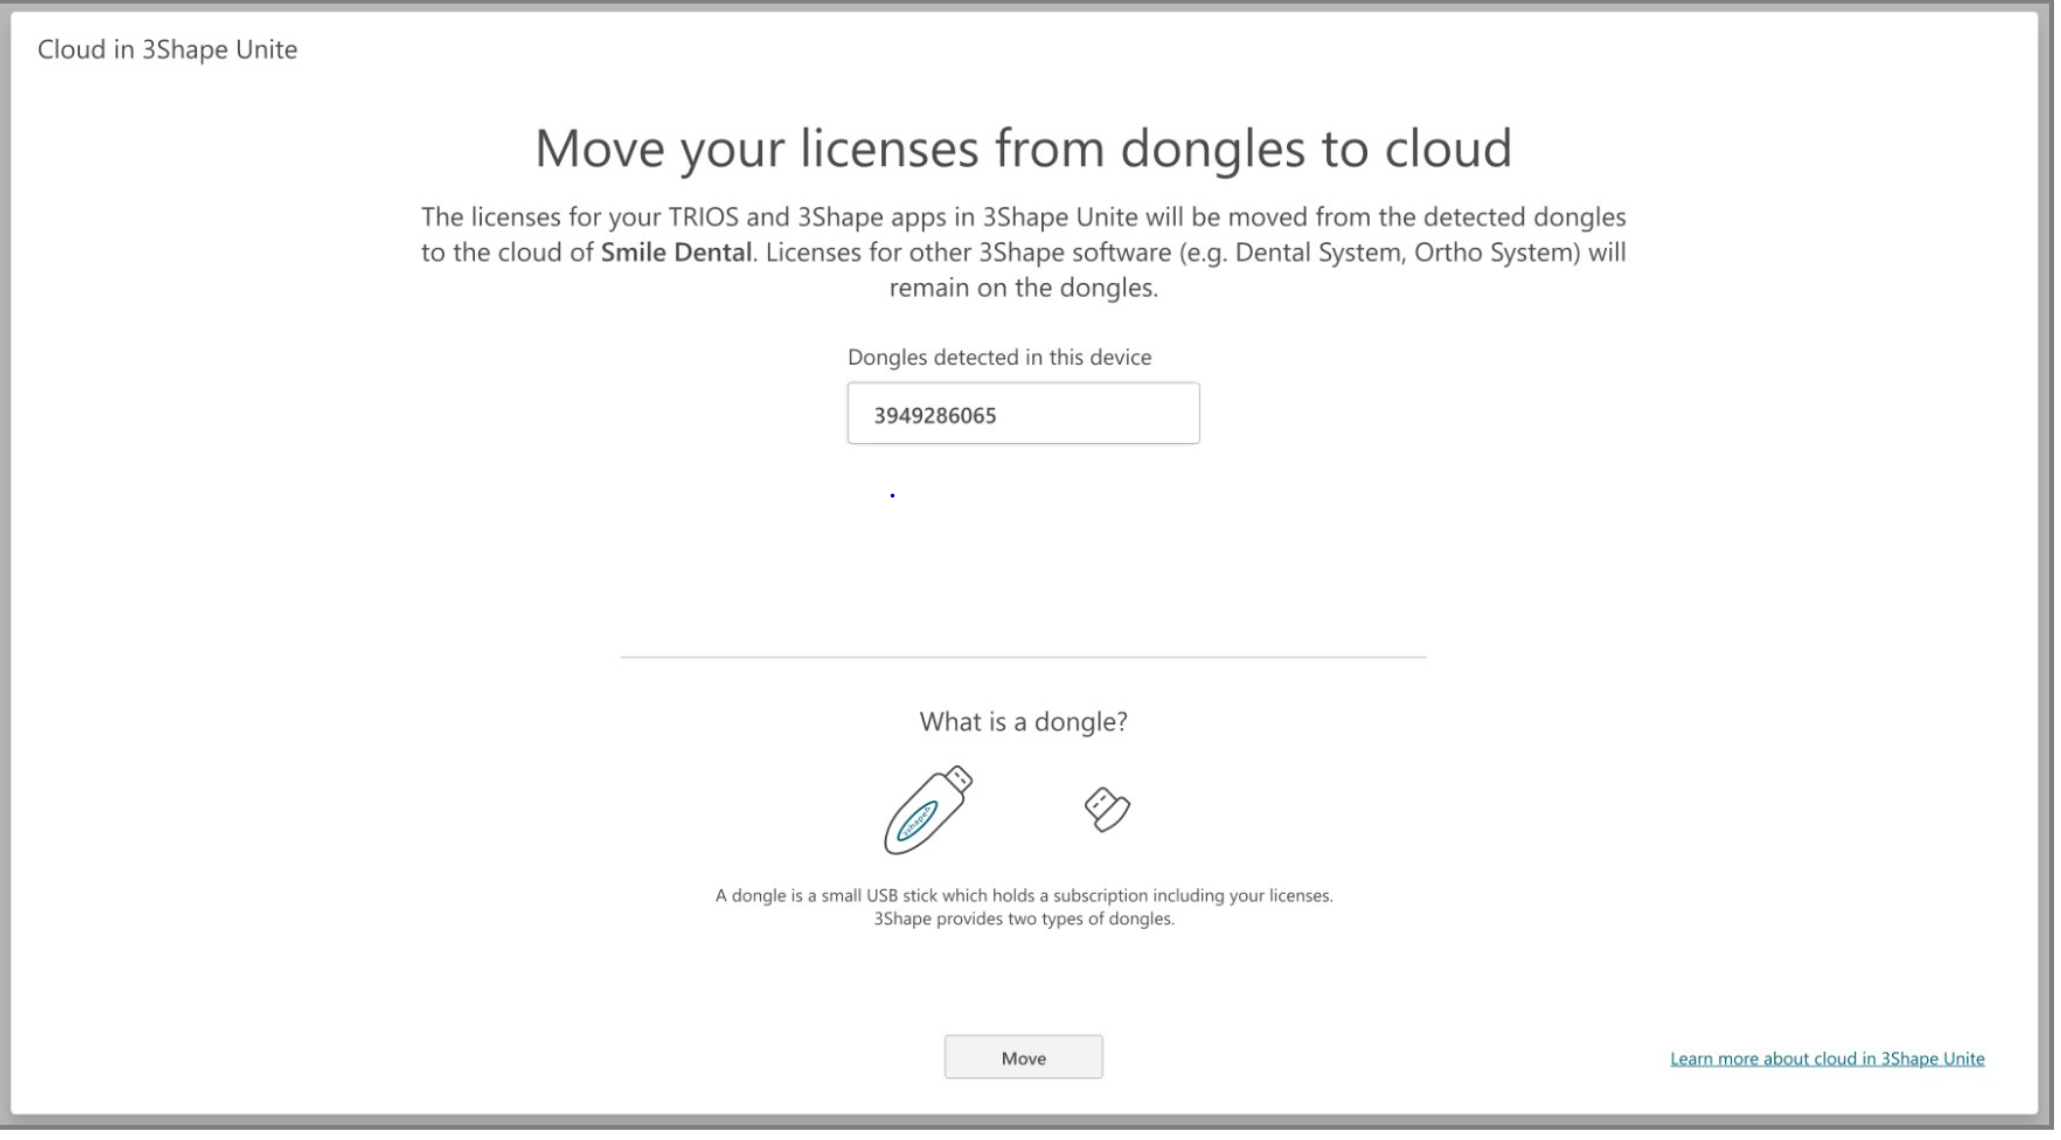
9. The next step is to move your licenses from the dongle to the cloud. You will see a window showing the dongle(s) detected in your device and you should press “Move” to start transferring your dongle into cloud.
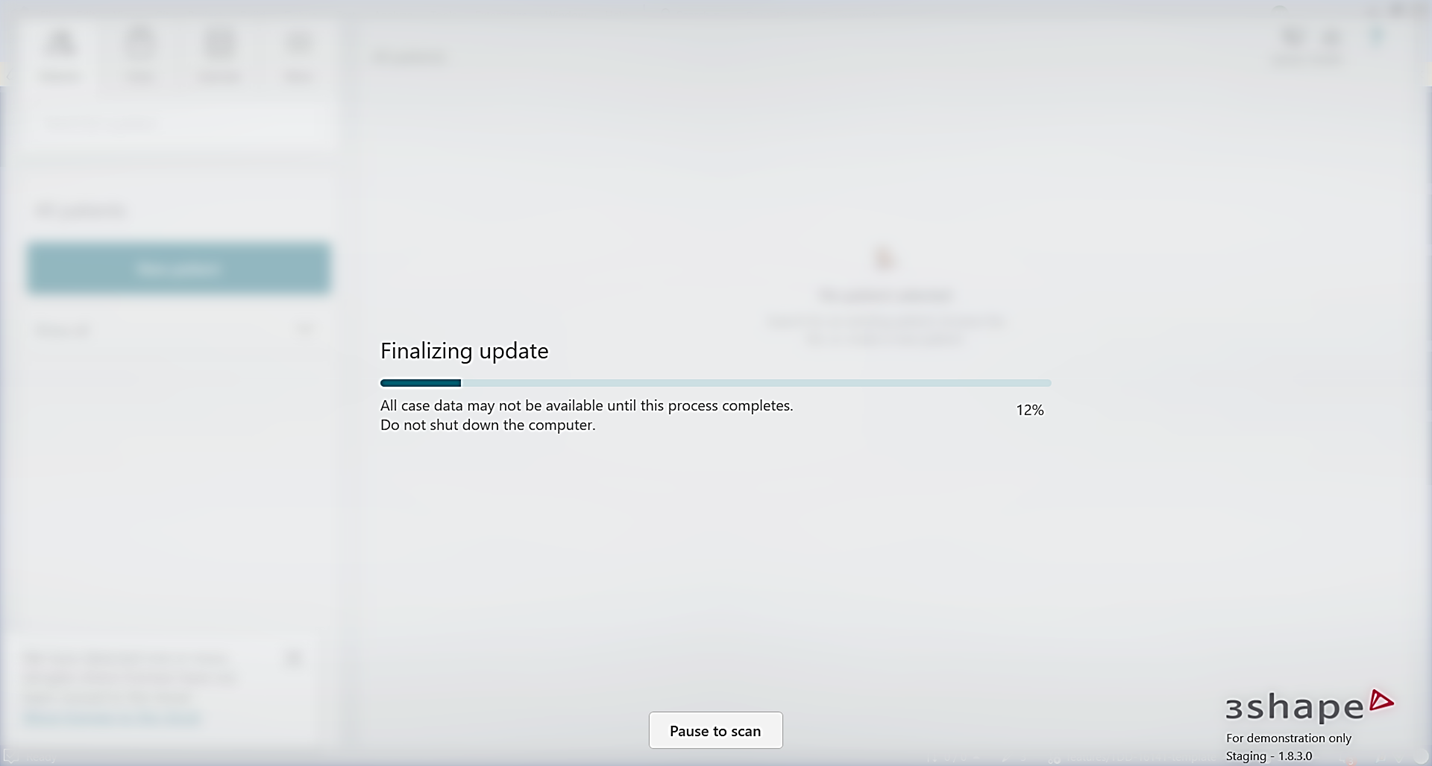
10. After the licenses have been successfully moved into the cloud, 3Shape Unite will need a bit more time to finalize the update and prepare the cases to be used in the new software architecture. During this process it's not possible to work in Unite, and it will happen for all users regardless of their choice of storage type - cloud or local. If there is a critical need to scan a patient, it's possible to pause this process to make a scan, and after that the process will resume automatically.
11. Finally, you will be welcomed by the updated 3Shape Unite Help Center where you will have access to the documentation of what's new with Unite 24.1 and other options to get the latest information of your Unite solution.

That’s it! You have now upgraded your system to the latest in our suite, which ensures you are supported and secured and can benefit from recent innovations in digital dentistry.