Upgrading from Dental Desktop to Unite 21.1
09/11/2023About Unite 21.1
Unite is a leap forward, compared to Dental Desktop, so you will see a different user interface: the order form, patient page and how you start your workflows and select your labs, have been greatly improved.
Important: If you require training on how to work with patients and manage communication with labs, then we recommend going through the following trainings.
Preparation checklist
Have you:
- Backup up your data?
- Set aside 1.5 hours?
- Decided/verified who is the Admin for Windows and Unite?
- Checked if you need client server or standalone installation?
- Checked that you have stable internet and meet minimum system requirements?
- Made sure that you perform this during Customer Support hours?
Update steps
- Login to Dental Desktop on the system you are using (Important – if you are running a client/server installation – perform this operation on the Server PC first).
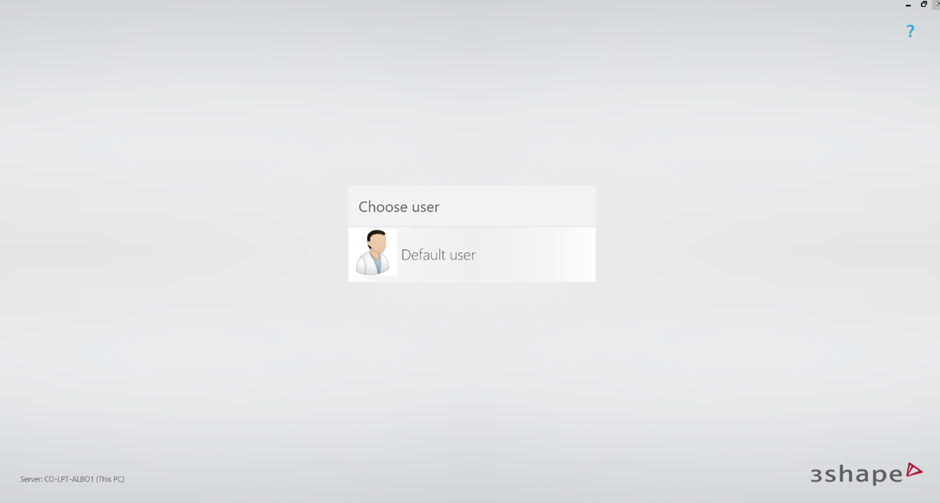
- Select the Admin user which could be “Default user”.

3. Select “More”
4. Select "Software versions & Subscriptions"
5. Select on “Installed Software & Upgrades”
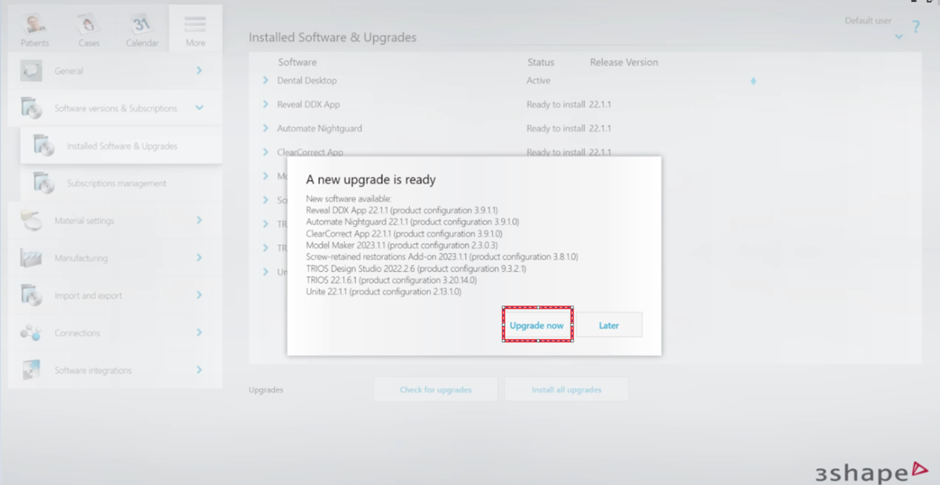
6. Select ‘Check For upgrades"

7. Select ‘Upgrade now’.

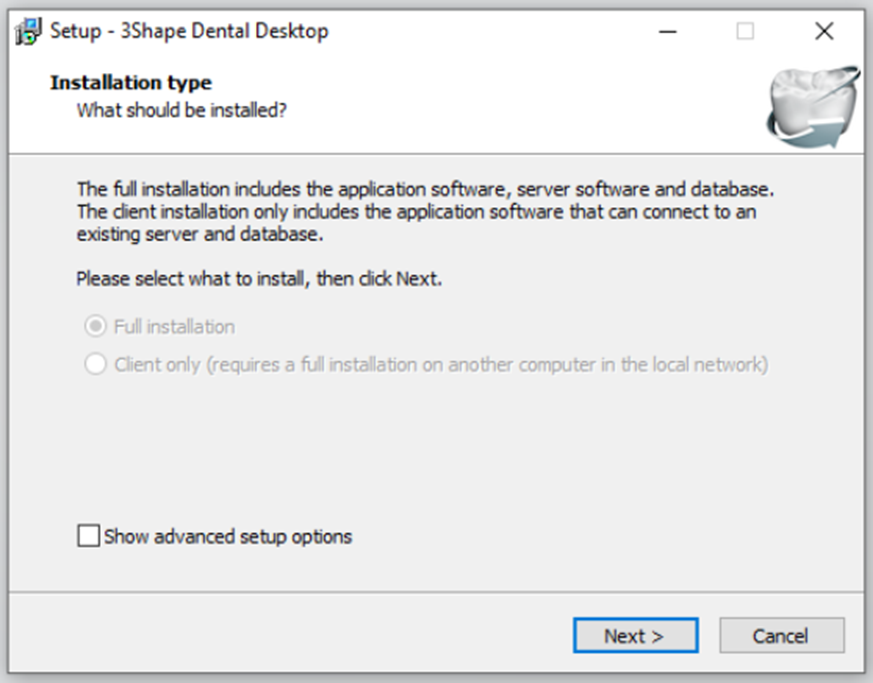
8. Now it’s time to select either "Full Installation" or "Client Only".

9. Select “full installation” if you are only using 3Shape software on one System for example a laptop or Move System, or if this is the server PC, then click "Next".
10. Select Client Only if this is a Client PC and not the Server PC which you have already upgraded. For more information on Client server please read the “General advice on Upgrading”. Link:
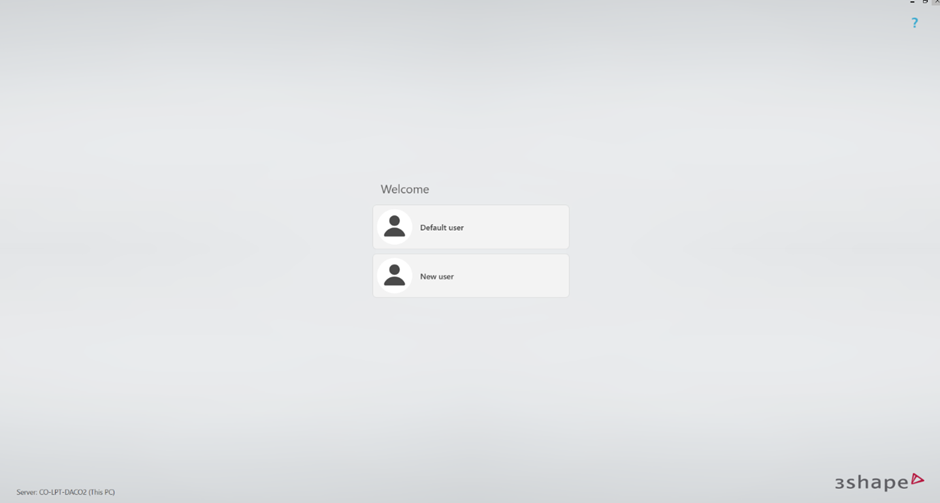
11. Once the installation is complete the name of the software will change from Dental Desktop to 3Shape Unite and the user login should look different.

12. Now, once again select the Administrator and the system will start downloading the modules and installing them.
13. Once this process is complete, the software should load the latest version 3Shape Unite; meaning that the Installation is complete.
Congratulations!