How to prepare Virtual Model Bases in Ortho Analyzer
07/11/2023Create a virtual base in the Ortho System
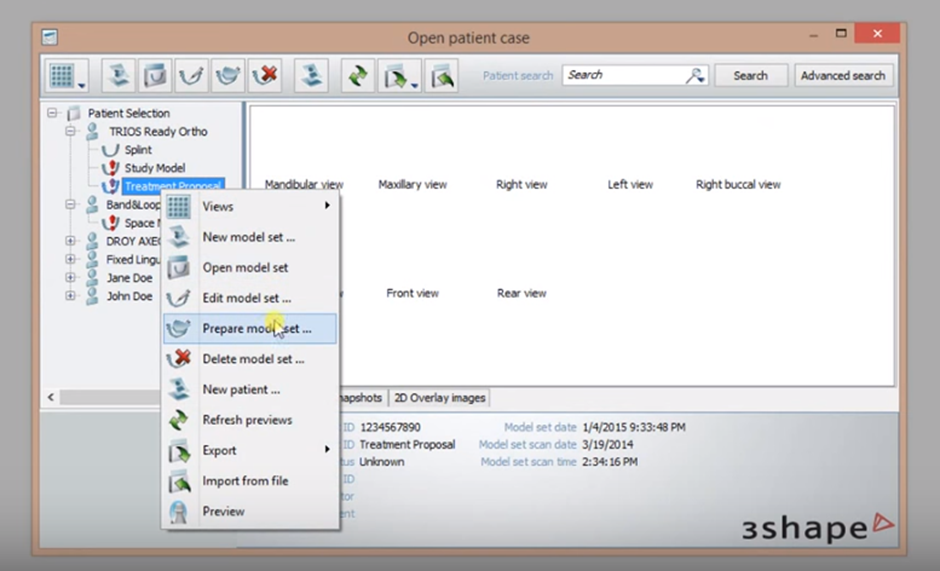
In order to create the virtual base please right-click on the model set and select the prepare model set option.
The first step in order to prepare the base will be the plane alignment for both the occlusion and sagittal plane:
Step 1: In order to select the occlusion plane three points need to be selected called landmarks ; usually is one in 16, a second one between 11-21, and finally a third one in 26.
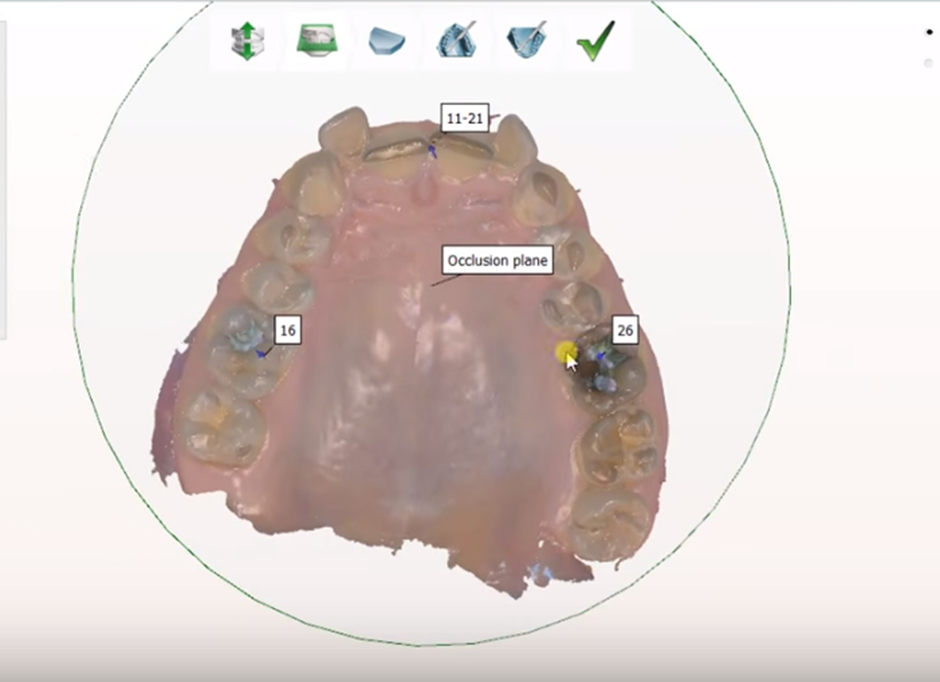
We usually use the highest cuspid and start from left to right. The way the landmarks are selected will affect the virtual base prepared. It is always recommended to place these points on the Maxillary.
IF the landmarks for the planes are not set up correctly issues may arise with the orientation of the models within the software.
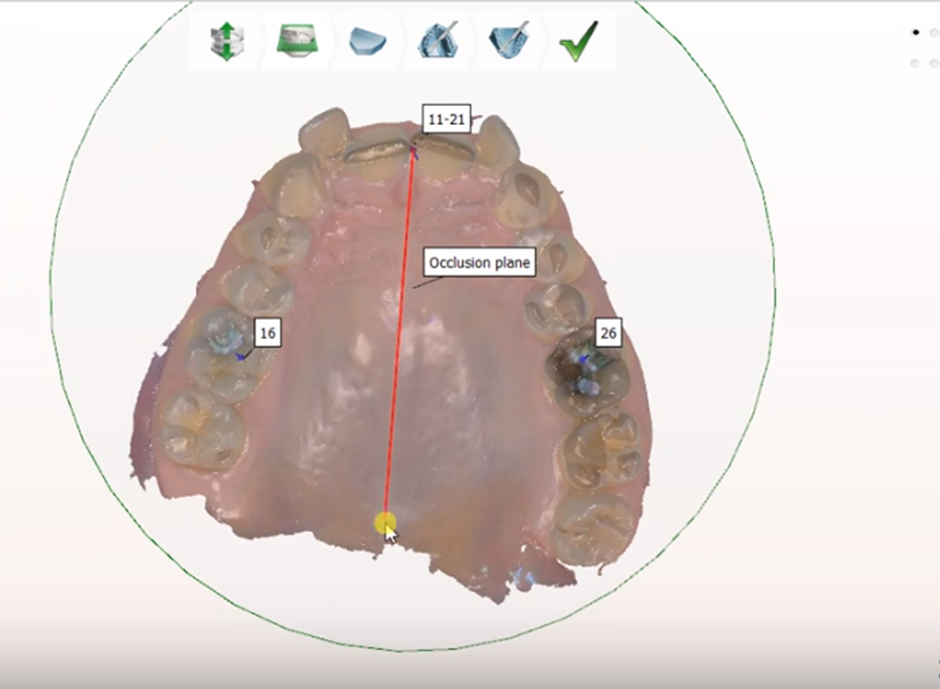
After doing the occlusion plane the system will ask to configure the sagittal plane that goes through all the mid-line, in order to configure it a line must be brawn along the center of the hard palate.
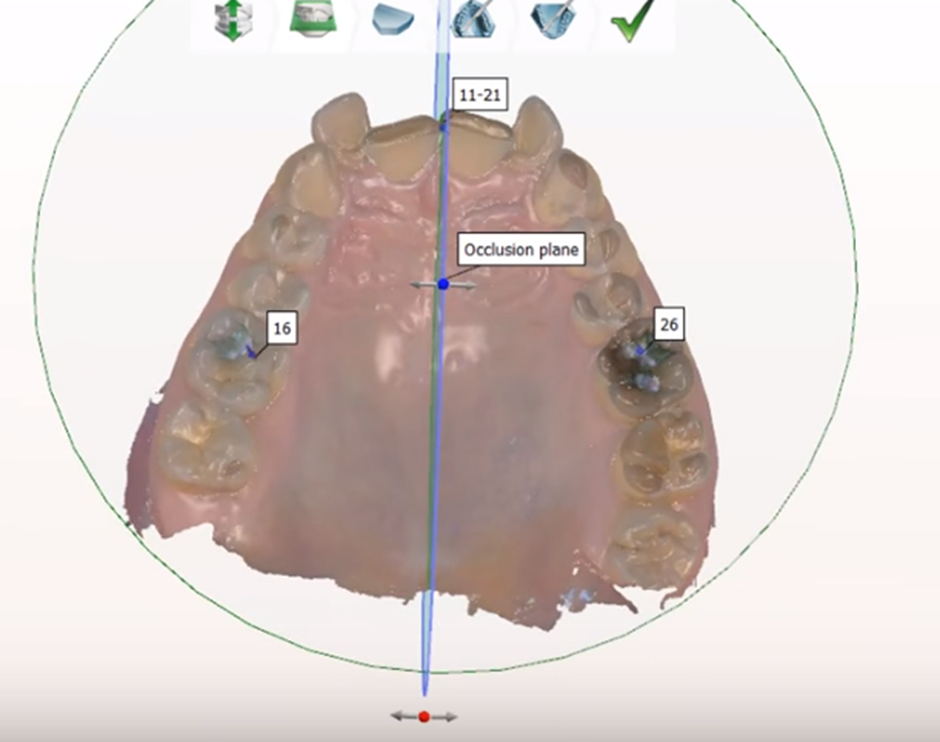
After setting the planes and clicking next is time to move onto the virtual base settings.
Step 2: Define the spline around the soft tissue you want to keep for the virtual base generation for both the upper and lower jaw.
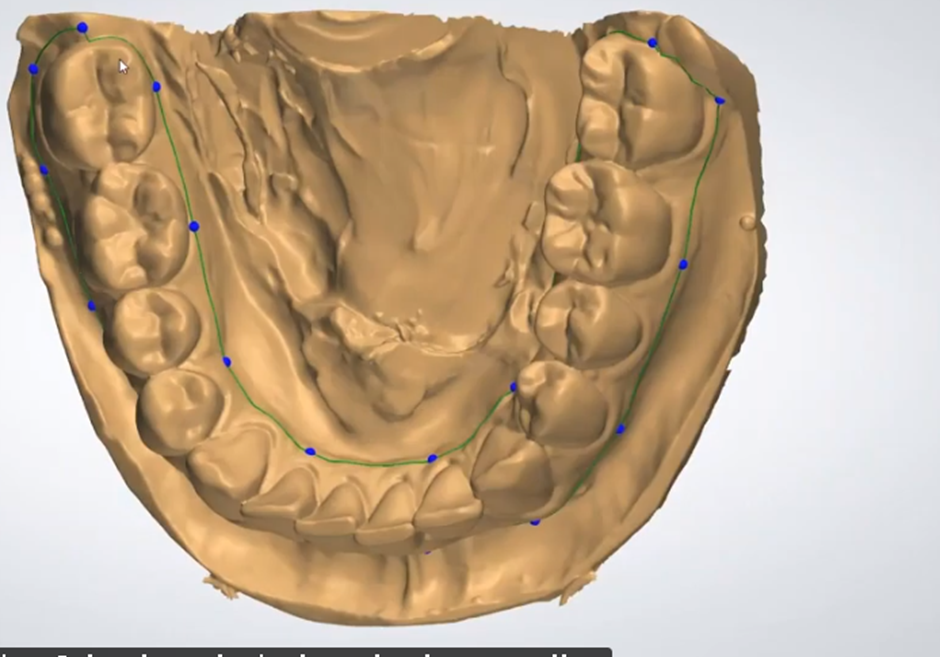
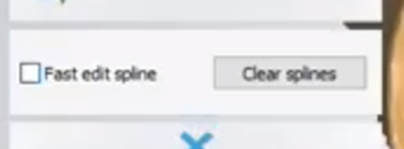
Please make sure the first and last dot done are connected, if you want to edit the spline there is also a fast edit spline tool. If there are holes in the scan avoid them as they might create error messages.
If the splines are not placed correctly this might also generate errors generating the base. And in order to resolve them they will have to be re-done.
Step 3: After the spline has been done the next step is to choose the material for the base model and make sure all the splines are within the virtual base preview boxes.
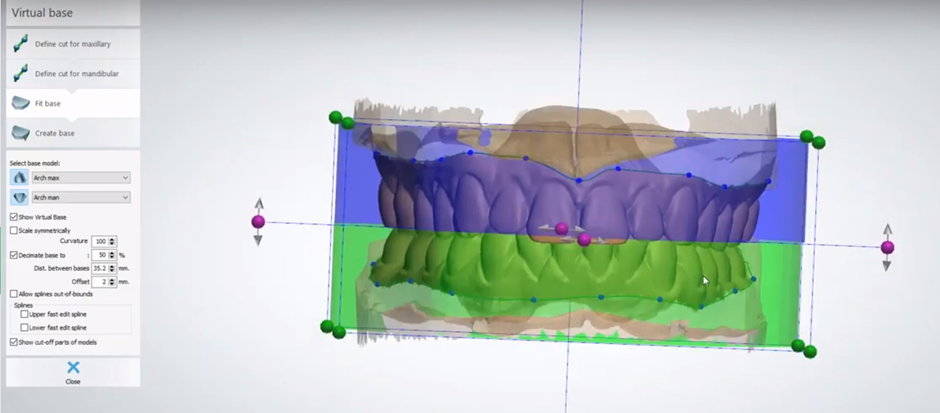
In order to fit the base you might need to use the dots and adjust as necessary. To avoid getting error messages the allow splines out-of-bounds option can be clicked.

After clicking next the base will load till 100% and the final result will provide. The next tools will be the sculpt tools in case the customer wants to reduce material on the base prepared (spline & plane cut tool) before exporting and producing it on the printer; or if the customer wants to do some debounding of brackets (Remove Artifacts).