
Onboarding to 3Shape Unite 23.1 with Accounts belonging to different companies
07/11/2023DentalDesktop 1.7.83.0 will reach End-Of-Life stage in 2027. Ensure that your system is updated to the latest available version.
This workflow applies to when all users have their own 3Shape Accounts and are Administrators of separate companies.
After the upgrade, the first user to sign in registers their company for the system. All other users must then accept the transfer of their companies to the company registered for the system.
Make sure you have completed the preparations for the transfer described in the article "Unite II Basics - Preparation for Transfer".
Step 1: After Unite is upgraded to a version with 3Shape Account, read and accept the General License Terms and Conditions to continue.
Step 2: All users will then be transferred, and their profiles will appear on the Users screen. The Company Administrator is expected to sign in first. Their profile is highlighted to guide you.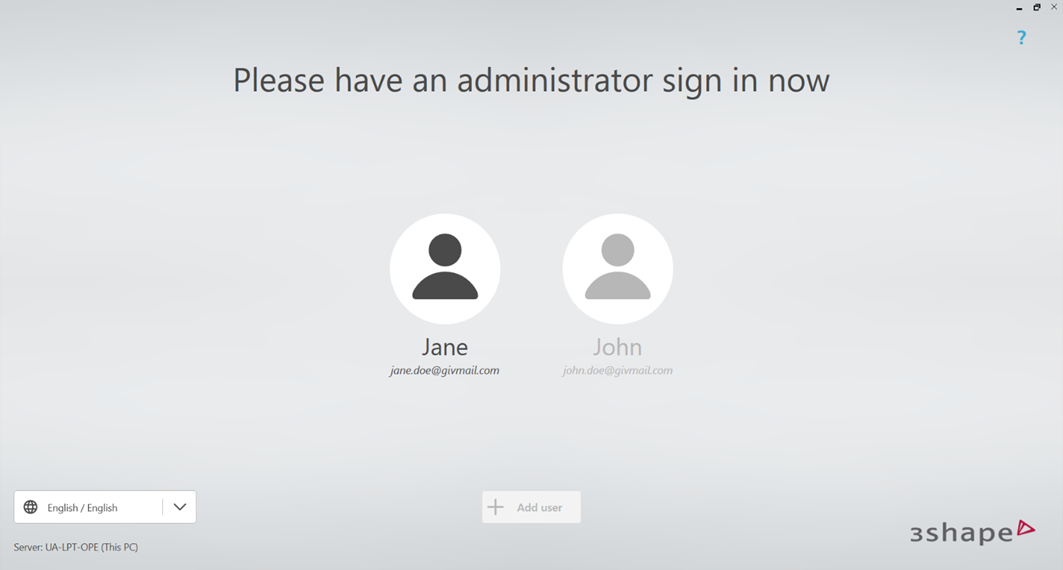
Step 3: Select the Administrator profile. You will be prompted to confirm whether your account is correct. Select Sign in if this is the correct account.
Step 4: Enter your password. The email address is pre-filled. Select Sign in.
Step 5: Review the company details and select My company data is correct. If any information is incorrect, select Edit to make changes before confirming the details.
Step 6: Register the Unite installation by linking the system to your 3Shape Account Company. Confirm that you have read and understood the information by selecting I have read and Understood, then select Register to continue.
Step 7: Set a personal 6-digit PIN code for the account and device, then select Save.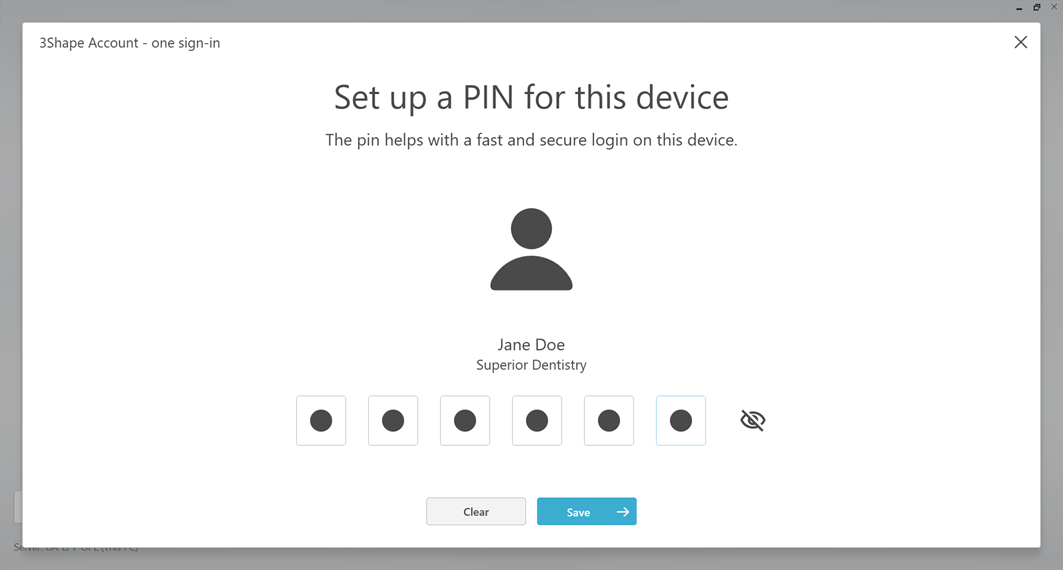
Step 8: The other users who previously logged in to the system will be invited to join the company. These invitations allow their companies to be transferred to the registered company. Select Next.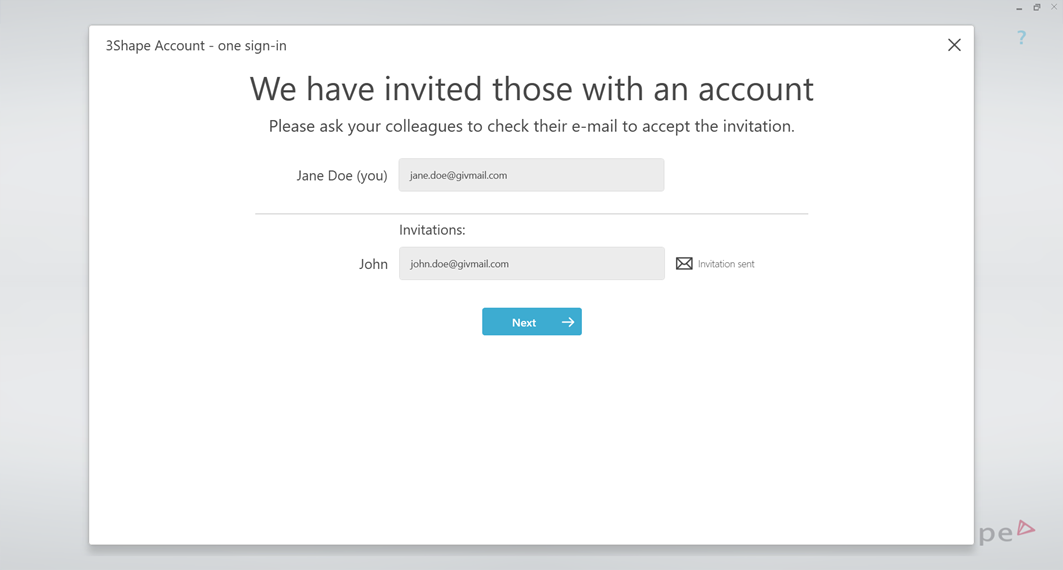
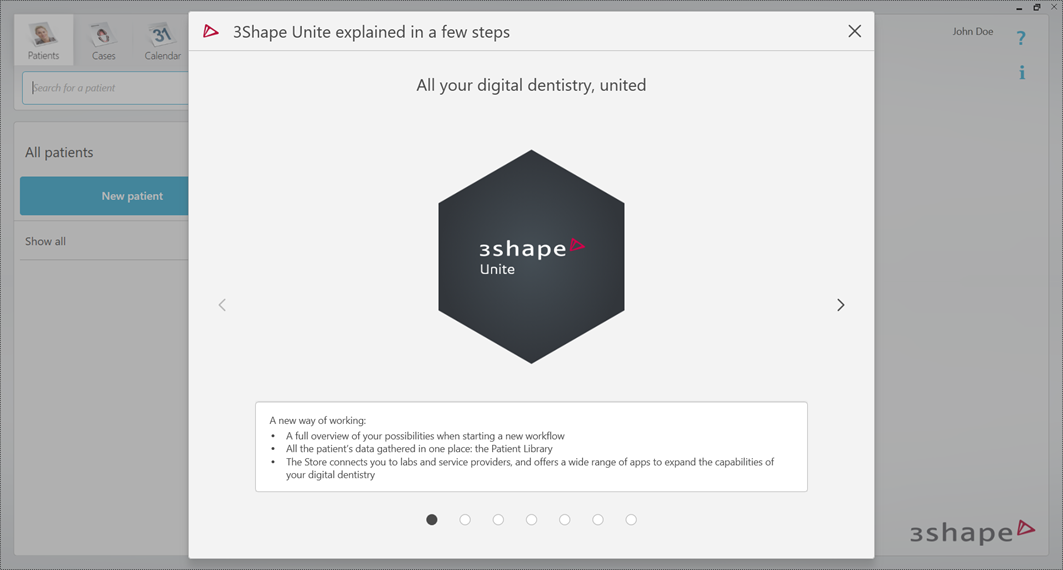
Step 9: The Unite introduction will be displayed.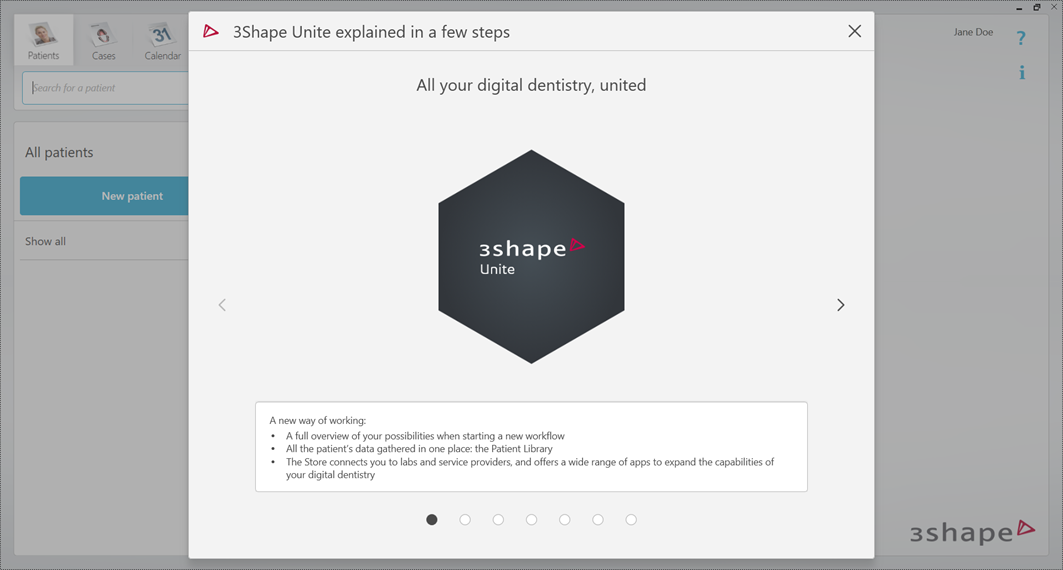
Step 10: Sign out from the software and select another user.
The Administrator will already be signed in, allowing the remaining users to be onboarded into 3Shape Account. Select another user avatar.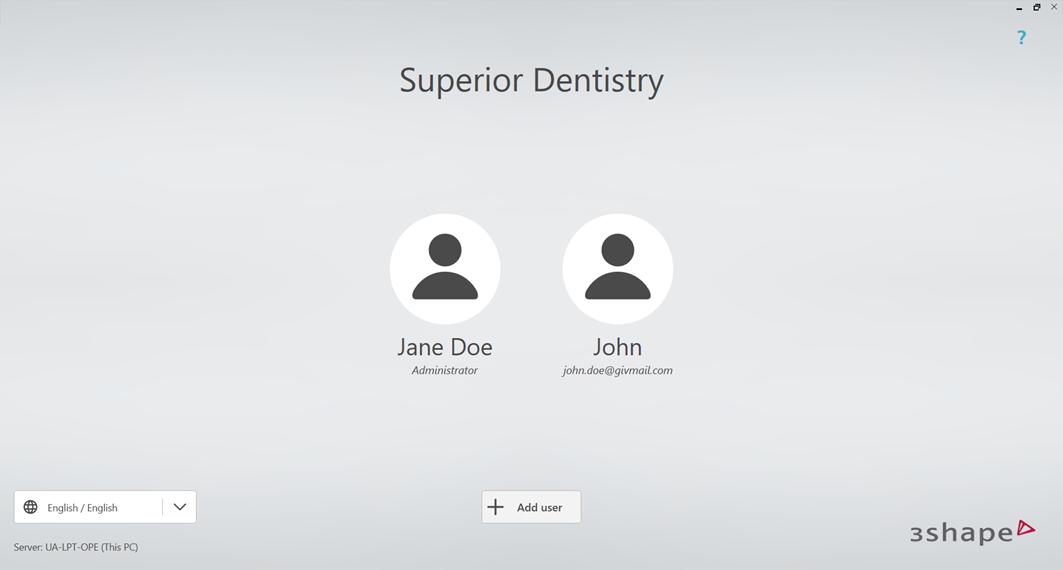
Step 11: Select Yes, sign in to confirm that the email address can be used.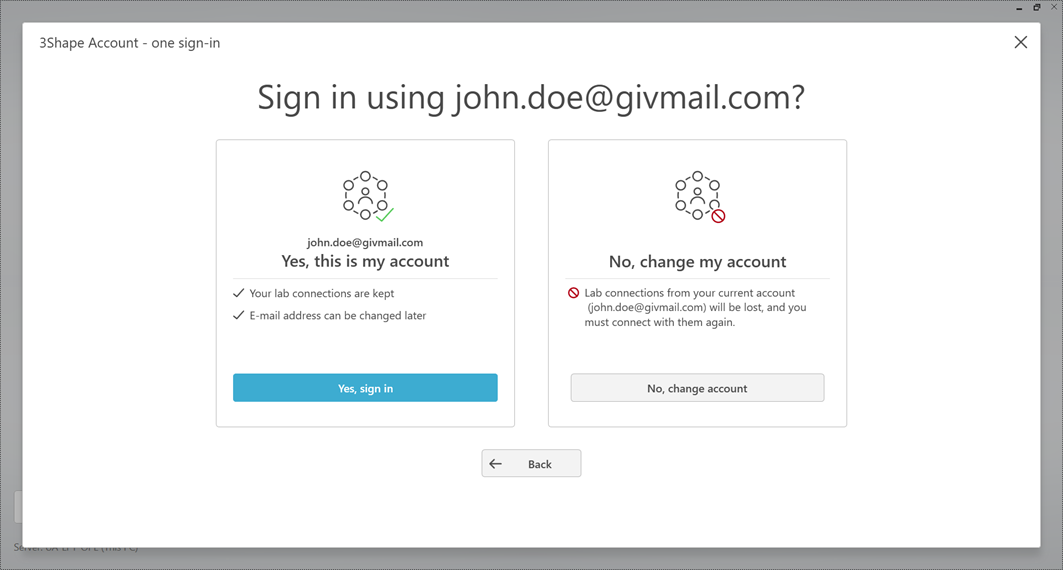
Step 12: Enter your password. The email address is pre-filled. Select Sign in.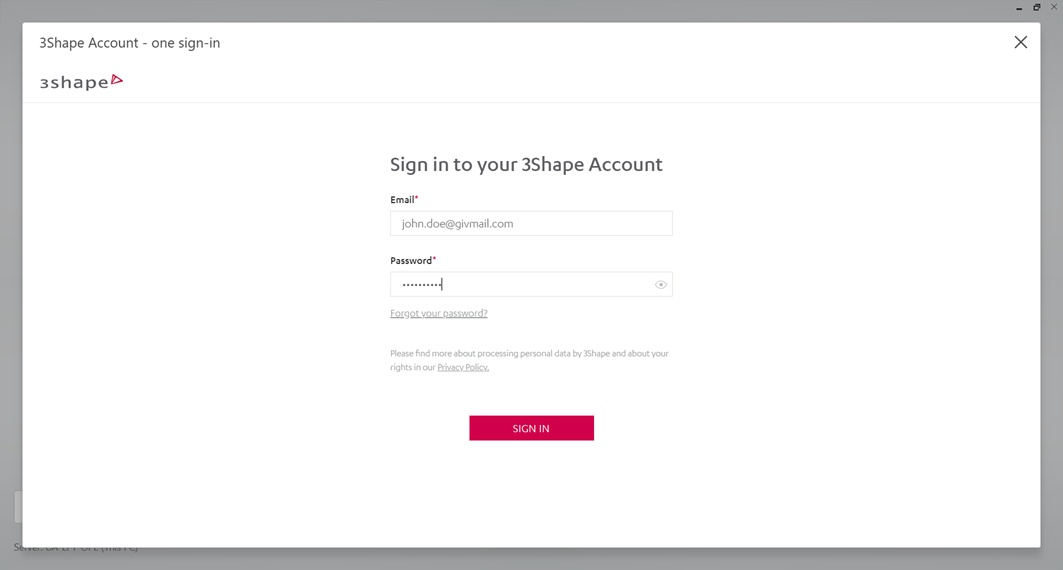
Your current company will not be deleted after the transfer. However, all your cases and connections (Team) will be moved to the company assigned to the system.
If you do not want to transfer your entire company, reject the transfer and join the registered company as a member.
In this case:
- All cases will remain assigned to your original company and will not be transferred.
- You must be assigned to a new team in the registered company.
- You must recreate all your connections and integrations for the 3SCOM service, or use the connections available in the assigned company.
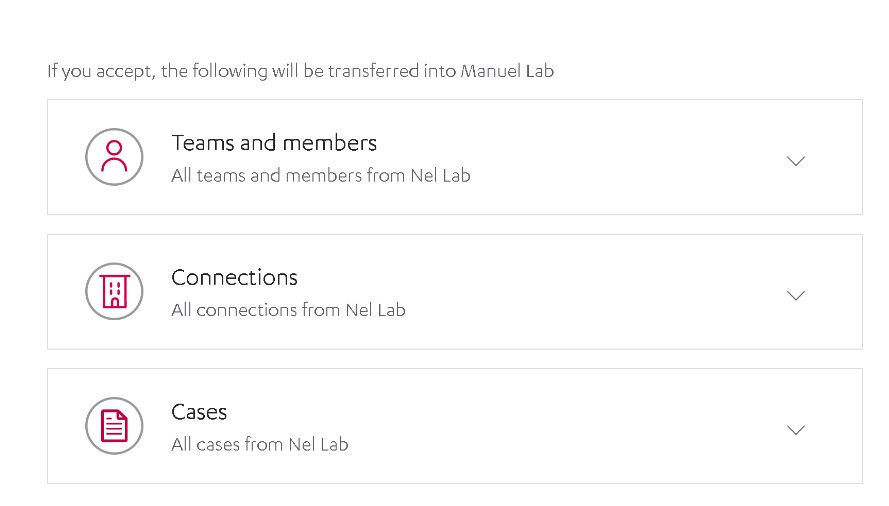
Step 13: You will be presented with the option to accept or reject the transfer, along with a summary of the items to be transferred, including teams, connections, and cases. Select Accept, then select Continue.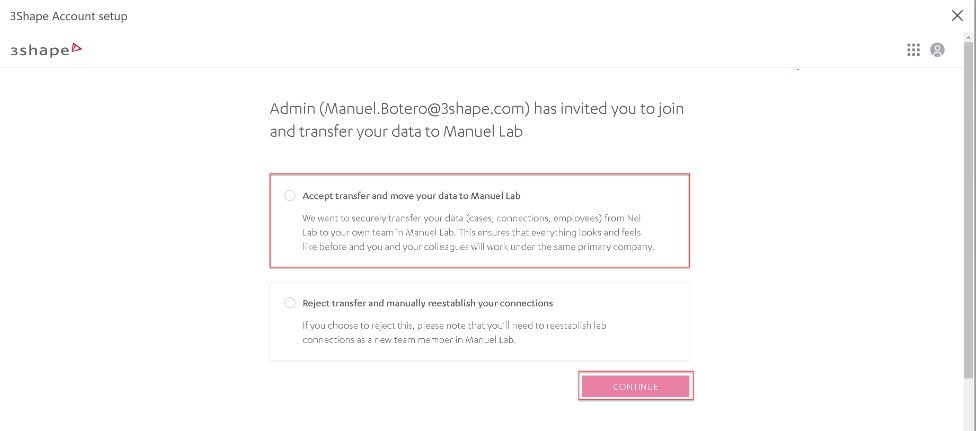
Step 14: Select Back to platform.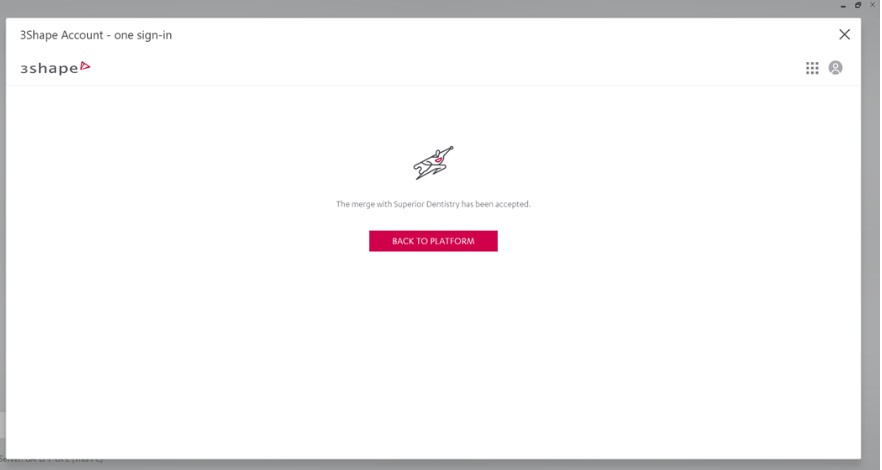
Step 15: Review your personal data and select My personal data is correct. If any information is incorrect, select Edit to make changes before confirming the details.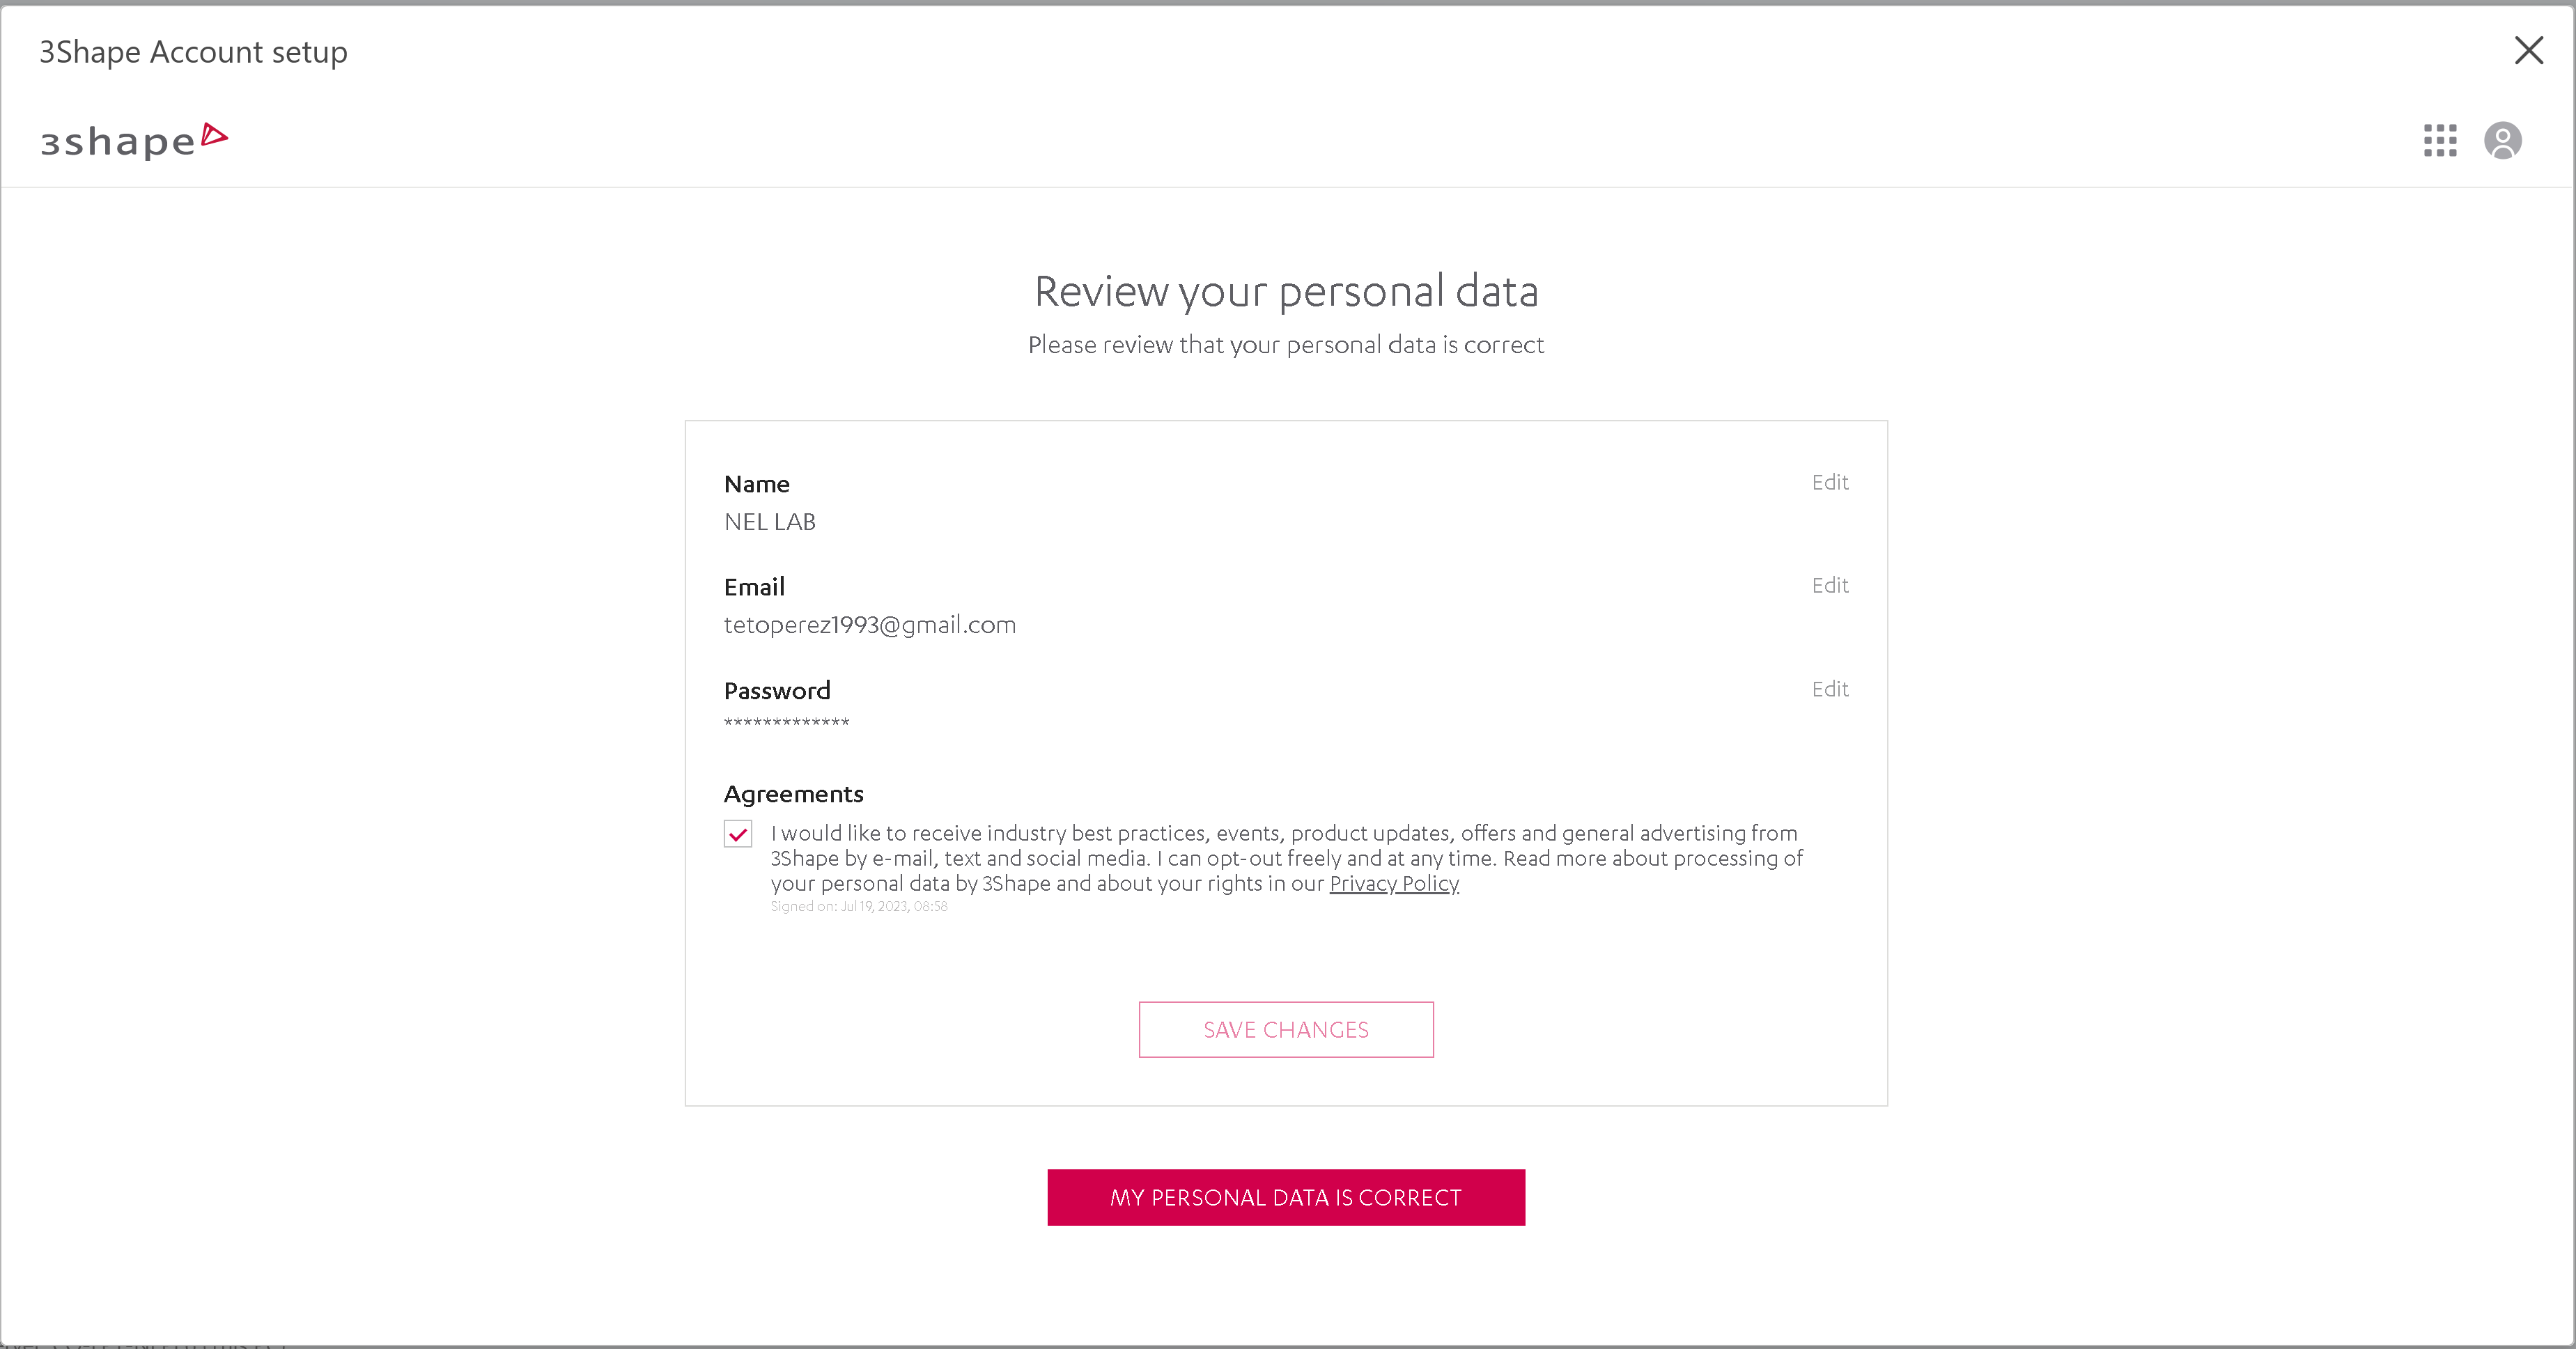
Step 16: Set a personal 6-digit PIN code and click Save. After saving, the Unite introduction will be displayed.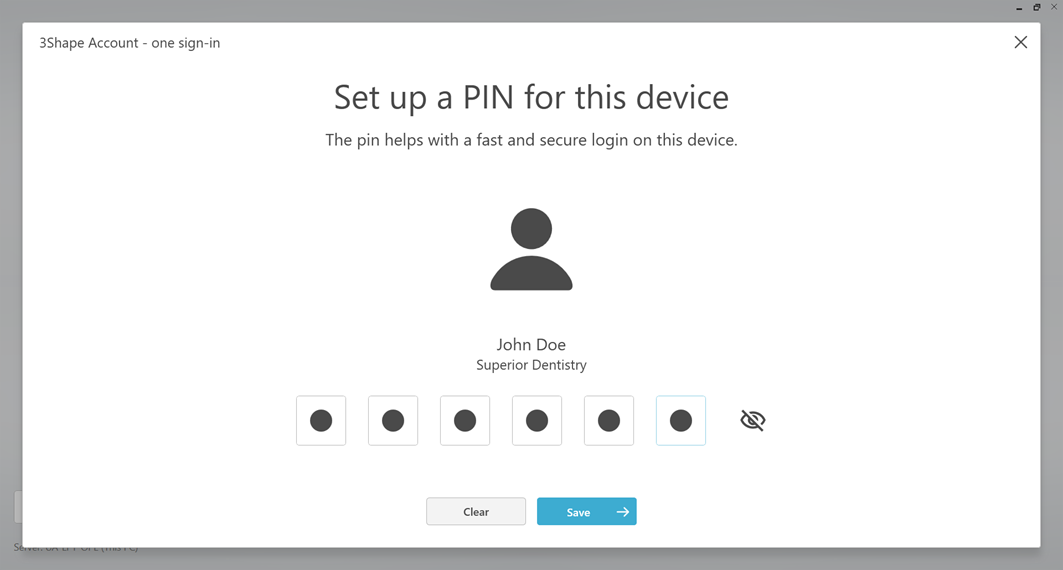
Step 17: If the transfer is rejected, a invitation will be sent to the Administrator of the company to join. Once the Administrator accepts the invitation from the Account Portal, the user will be able to set a personal PIN and access Unite.


Contact 3Shape Support if you have any further questions.
For full information on correct usage consult the official Safety and Setup Guide and the most current Manual.